
For those of you who don't subscribe, I've reproduced the article bellow.

Making a new handsaw.
I’ve always had and used old hand saws. There is nothing wrong with a modern, plastic handled saw, with its induction hardened universal teeth. In fact for cutting plywood, with its multi directional grain, they’re great, but they’re always short, and the teeth are too small for large green wood, and I’m not that keen on disposable stuff.
I’ve stopped and picked up countless old rusty saws in antique shops, checked the teeth and looked down the line to see how straight they were. Invariably they are past trying to bring back to life as a worker, but I have some excellent saws, some good saws, and some I was being too optimistic about.
A good old saw will outperform any modern handsaw, even when you allow for sharpening time, I’ve tested rip saws against new modern saws, and the cutting time is less than half that of the modern saw.
Sometimes things come together unexpectedly and take you off in a new direction. I found a saw doctor’s book on ebay that looked interesting, I hoped it might have some new (1920s) saw sharpening techniques for hand saws, it didn’t! But it did have a small section on the advantages of using a fly-press for cutting saw teeth in bandsaw blades. Around this time I came across a fly-press with tooling from a saw doctors, set up for re-toothing handsaws. Needless to say it joined my collection of tools in my workshop.
Originally I was going to re-cut some of my old saws, but that wouldn’t be as much fun as trying to make a new saw from scratch, and I’d get a saw that would be customised to what I wanted.
After a lot of research on the internet, and asking questions of those in the know I found the steel type and grade required for my handsaw. Spring steel CS95, hardened and tempered to 530-570 VPN, this has a carbon content of around 0.95%. The quality of the steel is vital, it needs to be hard enough to hold its edge, and soft enough so you can file it and the teeth don’t snap off when setting.
I thought that I’d document the making of the saw, for those interested.
 Fig 1 - Shows the new steel plate (750 x 225 x 1mm) next to a 28” Disston No7 rip saw.
 Fig 2 - I’m checking the gauge of the steel plate in thousands of an inch, 1mm is around 0.040”
 Fig 4 - A guide was clamped to the steel plate ready for cutting with a 1mm cutting disk. The cutting was carried out very slowly with multiple cuts, to prevent excessive heat from either buckling or losing the temper of the steel.
Fig 5 - When all the cuts are complete the saw is held in a saw vice to have any sharp edges removed.
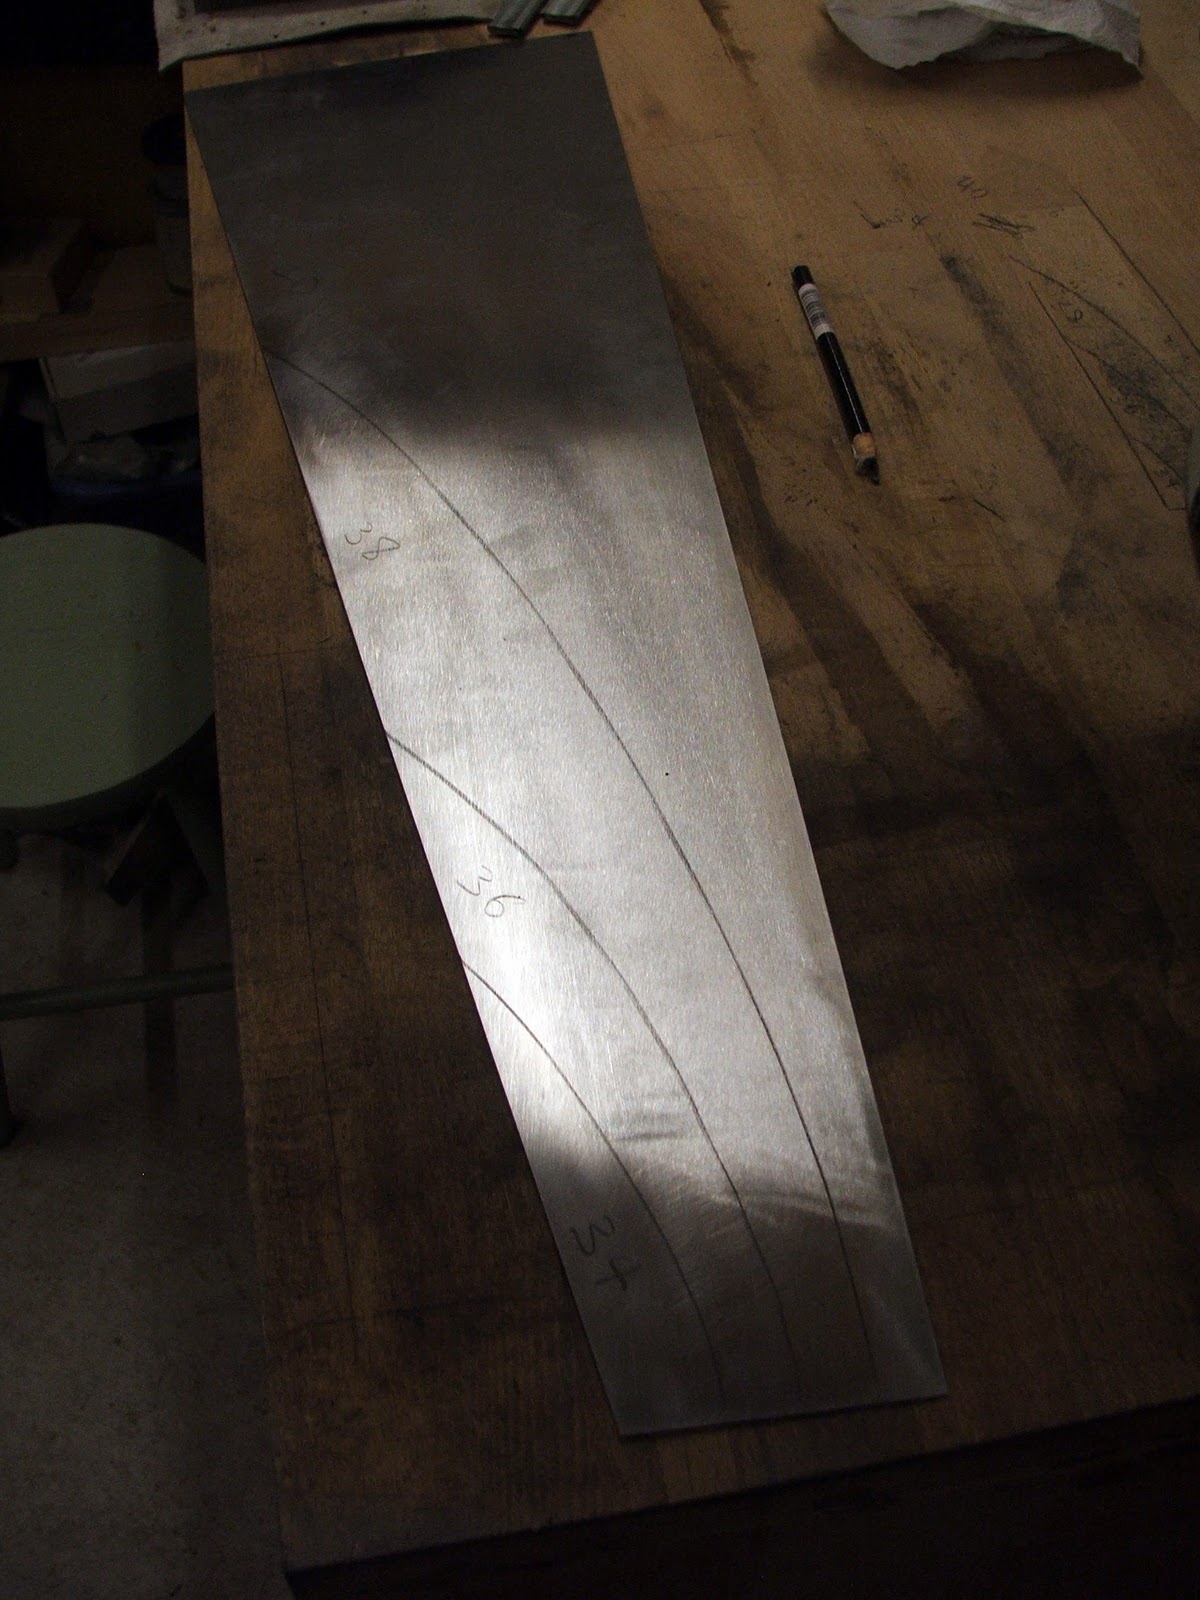 Fig 6 - The back of the handsaw is marked up for taper grinding.
All 19th C hand saws were taper ground; this made the saw thinner along its back edge. This had three benefits.
It made the saw lighter and moved the weight to the tooth line, which improved control of the saw when cutting.
It made the saw less likely to jam in the saw cut.
It reduced the amount of set required, smaller set = thinner cut = less effort.
Just as in cutting the plate, it is important that as little heat as possible enters the blade; I repeatedly cooled the blade every time it reached touch hot. (Somewhere after warm but still comfortably holdable in your fingers)

Fig 7 - Adding a nib to the back of the blade. This is completely decorative and not required, but it’s a nice touch that gives a nod to the old sawmakers.
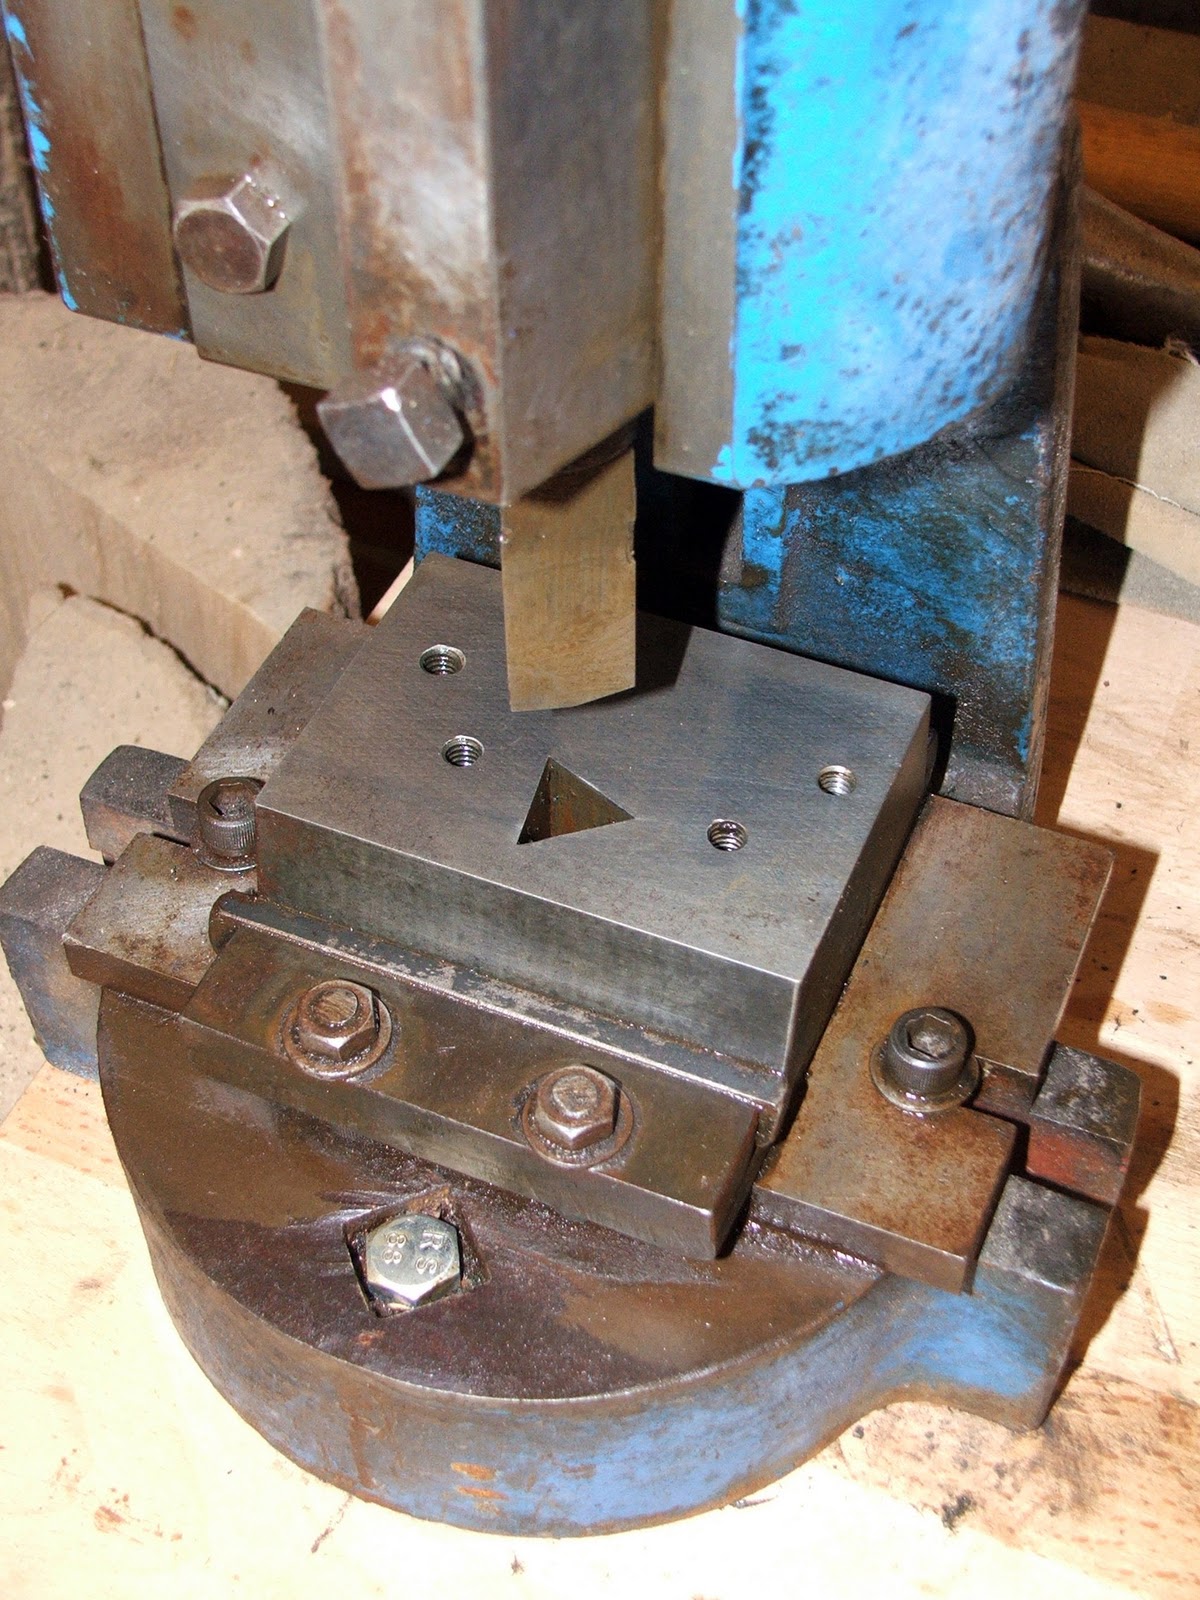 Fig 8 - Fly-press and tooling with no guides attached.
 Fig 9 - Testing the guides and tooth size on a scrap of steel plate. The saw will have a graduated tooth line from 5ppi at the toe, to 3.5 ppi at the heel. (points per inch)
 Fig 10 - Punching the teeth on the proper saw. The previous tooth stops on the guide to set the spacing for the next cut. The saw is emerging from the blade. You can see the changes is tooth size as I move along the blade.
 Fig 11 - Each tooth takes about 5- 10 second to line up hold and punch. Cutting the teeth this way ensures no heat enters the steel at the tooth line.
 Fig12 - The saw now has a slight curve in the blade from the stamping process, but this is removed later.
 Fig 13 - As equally important as the steel quality is the handle. If the saw isn’t comfortable in your hand you won’t enjoy using it. The old British saws tended to have 1” thick handles while the American saws seemed to lean towards 7/8th, this doesn’t sound like a lot, but for me it makes all the difference. I have an old Drabble and Sanderson saw from about 1835, this has a perfect handle for my hand size and grip. I’ve chosen 1” black American walnut for the handle, it’s not a traditional wood, but it will come up really rich and dark, and make a nice contrast to the metalwork.
  Fig 14 - I cut the handle blank out with a combination of band saw and a coping saw.
 Fig 15 - The handle is shaped with rasps then files to get the required shape. I kept the original saw close by for reference while shaping.
 Fig 16 - The handle is now fully shaped, but still requires a final sand and polish.
 Fig 17 - Cutting the slot for the saw blade. It’s impotent that you find a saw with a similar kerf to the blade thickness. I packed the saw up to the correct height for cutting the slot.
 Fig 18 - The blade and the handle come together for the first time.
 Fig 19 - Making the medallion. I chose to make the medallion for the saw from silver, brass was used traditionally, but I wanted something different for my first pair of saws. My wife trained as a silversmith, which meant that I had all the specialist tools to hand.
 Having pierced the silver sheet to the required pattern, it is then soldered onto a second sheet of silver. This is then cut to the correct diameter, before polishing and fixing to the brass threaded bar.
Both Medallions are based on daisy wheel designs. The daisy wheel is a geometrical symbol used by medievil builders to set out buildings and carpentry. It can be used to create angles and transfer complicated proportions without the need for plans and dimensions to craftsmen who were often illiterate.
 Fig 20 - The medallion and brass studs are polished and finished. The brass studs are made from 5/8th brass stock with and M5 threaded bar. It’s a bit of a mix of metric and imperial, but it’s what I had to hand.
 Fig 21 - The medallion and studs are lined up on the handle and the centres marked ready for drilling.
The counter sinks were drilled with modified spade bits to get a snug fit. It is important not to use an auger, as the pressure from the worm could easily split the handle.
 Fig 22 - The saw is clamped is the saw vice for sharpening and setting, I only add a very small amount of set. It’s easy to add more if required, but very harder to remove if you’ve over set.
 Fig 23 - The handle is fitted. I’ve made my own brass split nuts that are countersunk into the handle on the reverse side.
 Fig 24 - This saw was made as a working saw, despite the walnut and silver medallion, and the finished saw cuts like a dream.
Making your own saw isn’t quick but it is rewarding, and I’ve learnt a lot along the way. I now have a smile on my face every time I pick up the saw, which you don’t get with a modern disposable. I still need to make a cross cut sister to the rip, when is my next free weekend?
Hope you found that interesting, any and all comments welcome.


